After testing our new Snowtrekker Hot tent out on my friends land my wife and I decided to take it on a week long trip camping on crown land in Cape Breton Nova Scotia, Canada. We would be camping on the beautiful Bras D’or lake in mid January so the hot tent will come in handy for keeping warm and dry.
Table of Contents
Researching The Location
Since I had never visited the area I first researched where we could legally camp on crown land. There were still some patches of crown land forest right at lake front. Once I found a patch of forest as a possible area, I looked at an access point using Google maps.
On Google maps it showed that there was a dirt road that went from the main paved road all the way down to the lake. I knew if the road was snowed over that I would need to park on the main road shoulder which I ended up doing for most of the trip.
When researching Google maps I checked out the terrain option to get an idea of what the topography was. I noticed that the area around the road was the flattest and then branching out in either direction from the road it got hillier.
I looked for a fresh water source and saw that one ran into the back of the pond adjacent to the salt lake. I wasn’t sure if the pond was salt free or if fresh water would be easily accessible so we decided to bring our own water for the duration of the trip. We brought two jugs of approximately 20L each. I knew that we wouldn’t be parking too far from the car so would be able to hike them in. This turned out to be a good decision since fresh water was not easily available in the area we were camping in.
In doing my research I wanted to position the tent relatively close to the lake. I wanted to avoid pitching right on the beach or too close to it though since doing so means you are at the mercy of the winter winds blowing off the lake. There would also be the potential of getting our tent soaked with salt spray if pitched too close, even though the Bras D’or lake is slightly less salty than open ocean.
What We Brought

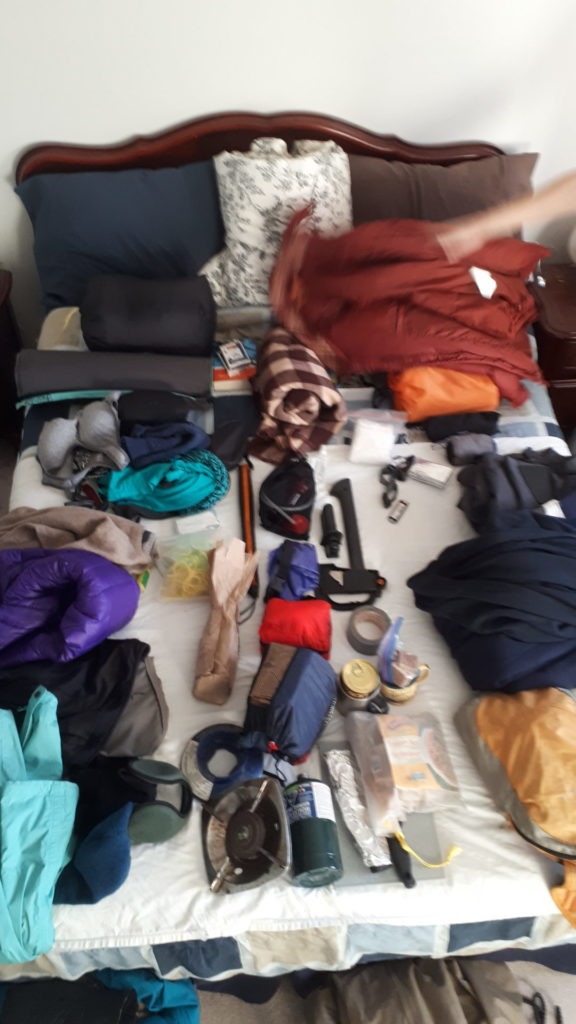
Some of the primary items we brought on our hot tent trip are as follows:
- Snowtrekker Basecamp 9X11.5 canvas tent and tarp
- Kni-Co wood burning stove
- Propane (for cold weather) and stove as backup
- fishing gear
- food (freeze dried, instant oatmeal, instant potato, sourdough bread and snacks)
- Toiletries
- Sleeping bags -18C down filled. Backup summer bags and a wool blanket
- ground sheet tapeline tarp and workout foam tiles (for under the thermarests)
- Thermarests
- winter clothing and thermals
- hatchet
- saw
- flashlights
- hanging solar lights
- cooking pots utensils, lighters etc.
- cheap sleds with bungee chords
- stove accessories
- camera and go pro
- power bank
Using The Sleds
We just used some cheap kids sleds. When we arrived at our camping location it had just poured rain the night before and the temperatures were quite warm even though it was mid January in Canada. The area around Bras D’or lake had no snow. Venture away from the lake and there was. We loaded our stuff onto the sleds and everything pretty much fit, although we did have to make a second trip for the water and wood.
Pulling the sleds over the dirt road and path to our site was not the easiest although carrying everything would have meant more trips to the car. The hike in was around 5-800 meters. The cheap plastic sleds held up surprisingly well even though they were weighted down with gear and were being pulled over snowless terrain. On the way back one of the sleds cracked at the bottom, I think this was due to the fact that the temperatures had fallen well below freezing by that point and the plastic sled had become more brittle. I am glad that I didn’t pay very much for them. We used bungee chords to strap down everything and this method worked surprisingly well.
Setting Up The Tent

We searched the area for a spot that was relatively level and clear. This was not easy. We looked at some potential spots in lower lying areas but decided against it since if we received some more hard rain they we would probably get swamped.
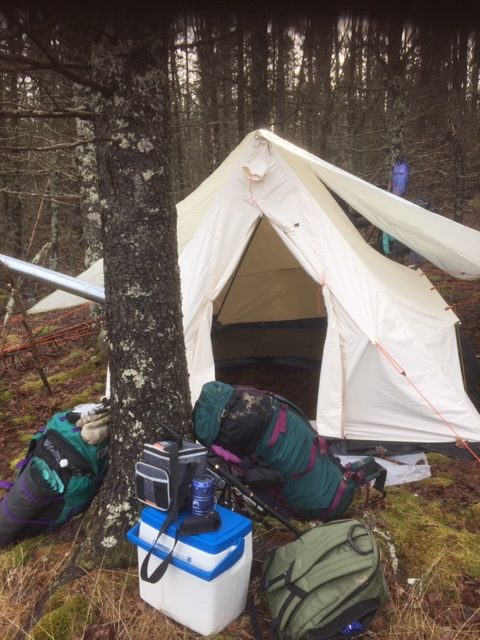
We finally settled on a spot that was on higher ground overlooking the lake. The area we pitched at was pretty much north facing. The downside of this was that our location received very little sun throughout the day since our camp was mostly blocked by trees.
The ground was fairly level but it was not that even. We decided eventually to fill the dips in the ground with boughs and this helped make our sleeping area more comfortable.
Tent setup went smooth since the Snowtrekker is a very user friendly tent to set up. A great addition to the Snowtrekker is the adjustable guy lines. You can secure the end of the tie down to a tree or other secure anchor and adjust the lines as needed. It is quick and easy.
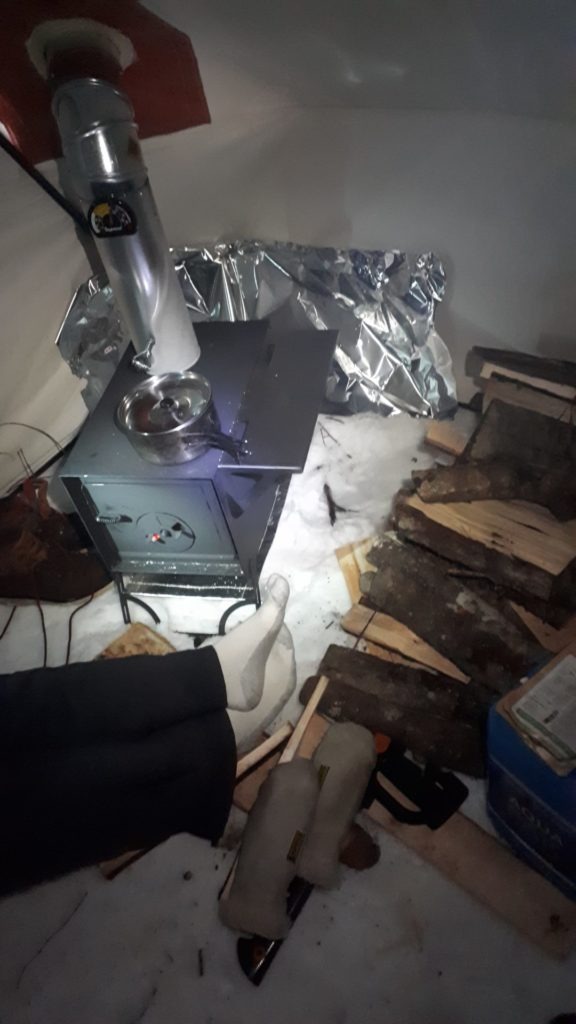
We then set up the stove. The stove pipe is nicely stored inside the stove. Each component is added and then screwed down and secured with two sticks pulled from the brush and crossed so that the pipe rests on the cross point. We secured the sticks together with some rope and made sure that they didn’t come into contact with the stove pipe. The pipe was secured to the sticks with some steel wire.
Inserting the flue takes some practice. If it is set up properly the flue should open and close easily without any flapping or looseness. We did not place the stove on wood since there was no snow at the location so no stove sinking would happen.
Our tent is the Snowtrekker Basecamp 9×11.5. It is nice and spacious once set up. You can easily separate the eating area from the sleeping area and have more than enough room to stack wood and place chairs around the stove. The tent was nice and high. I could easily stand up in it and change clothes etc. The sidewalls were also nice and high so we could easily tuck our chairs close to the side walls and still have enough room for our heads. The tent is not too big and not too small. We already have a lightweight tent for our summer camping and trekking so we were looking for more of a basecamp tent for shoulder and winter season. This tent fits the bill perfectly.
Wood Collection
Once the tent was set up I began scouring the area for more wood. I was unfamiliar with the area and it had been raining a lot so I wasn’t sure if finding dry wood would be a problem. Since I was fairly close to the car and it being our second time running the stove, I wanted to get a feel for what it would be like to run it at its optimum burn. So I decided to bring some dry wood both hard and soft on the trip. It wouldn’t be enough for 6 days of camping so I still needed to supplement the stash with wood that was pulled from the area.
We found quite a bit of pretty dry driftwood and we also pulled some hardwood out of the forest. We only used dead wood. I found using a moisture meter to be quite handy. Its true that I am able to tell if wood is dry without the meter but the meter would help me catch any potentially troublesome logs before putting them into the stove.
Using the sleds to collect hardwood was great. We were able to load a considerable amount of wood on the two sleds and pull them to camp in one shot. I found that 3 loads of wood on the sleds lasted us the rest of the trip, so using them this way is a very efficient way to collect wood.
I used a collapsible camping saw to cut up the wood and I then split the wood using my hatchet. I found piling up cut wood beside the stove really gave the remaining moisture in the wood a chance to dry out before burning.
Running The Wood Stove

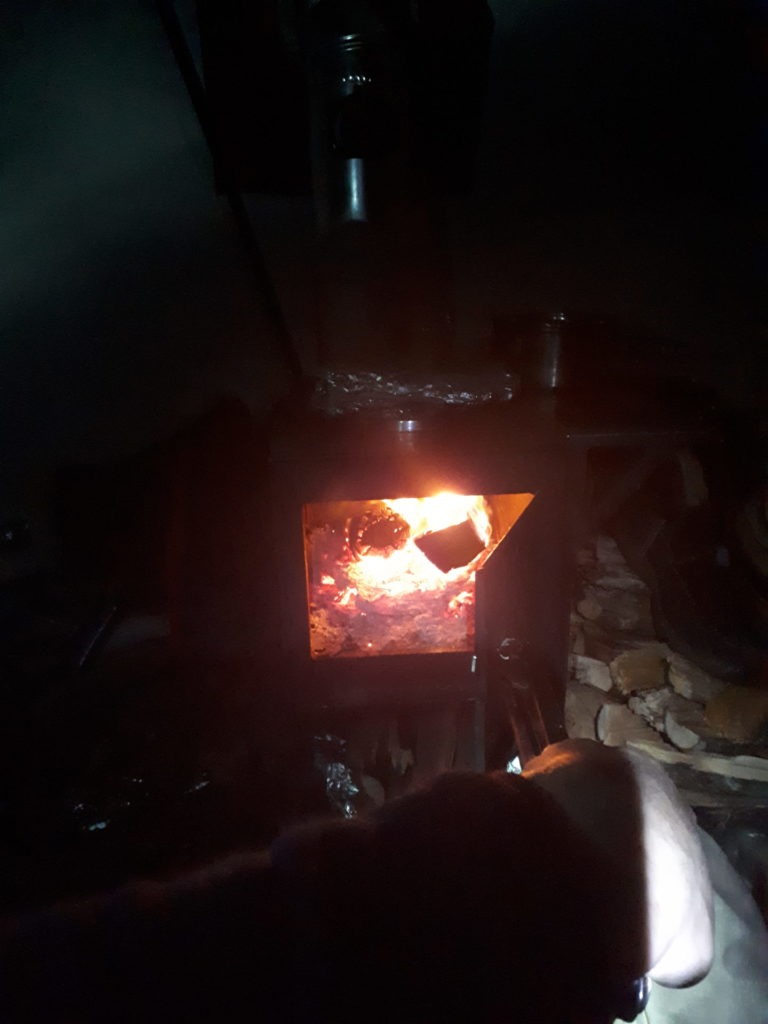
Learning to run the stove was a learning curve. I am happy I purchased a burn meter for the stove. It provided a reliable guide so I could run the stove in its optimum burn range. I would control the burn by closing or opening the flue and tamping down the stove air intakes.
Once I got the process down I could get the stove on a nice long hot burn. It would certainly output enough heat for the tent. I learned that its important to check the spark arrester at least once every 2 days, which is very easy to do. On one occasion we found we were getting a lot of smokey wood and it didn’t seem do burn very good. It turned out that the spark arrester was plugged with soot. So once I cleaned it with a steel brush the stove was up and running again as usual.
I am very pleased with the fact that I took the time to paint the stove with high heat stove or BBQ paint. The paint held up really nicely even with cooking on the top. It will also help slow down the inevitable rust that will slowly develop on the steel.
After 2 days of above freeing weather, the temperature began to fall below freezing. We were warm in our sleeping bags without running the stove even during the coldest night we had at around -8 to -10C. When we ran the stove we were nice and warm inside the tent. Being able to warm up and dry off after being active during the day is a great benefit of hot tent camping.
What We Learned About Camping In A Canvas Hot Tent
Some of the points that we are doing differently for our next planned trip is to go where there is snow. This way we can pull the sleds in with skis. We can also do more exploring of the area with skis which makes the trip more active for us both.
I have purchased 2 larger sleds. This will allow us to put more on our sleds without needing to stack gear. This way it will keep the sleds center of gravity lower and prevent tipping.
Now that I am more confident about how to run the stove, I will not be bringing any wood with me next time. We will be pulling all of our wood from the locations surroundings.
I have purchased a butane stove with a conversion adapter so I can run propane. Butane is not very effective at temperatures below freezing but the propane stove that I have been using is too large and cumbersome. The butane stove will run with an adapter using the propane containers. I will just need to be careful to not open up the valve too much since the propane cannisters have a higher pressure and so the flame will be too high.
We have also purchased a double cot. While this will add quite a bit of weight it will make the sleeping more comfortable being able to sleep above uneven ground and snow. We will also be able to store more gear under the cot freeing up even more space in the tent. I never thought that I would be sleeping on a cot but when you are winter camping its nice to be as comfortable as possible. The sleds make this standard of camping possible since doing a backcountry camping trip with all this gear in the summer would just be ridiculous.

